
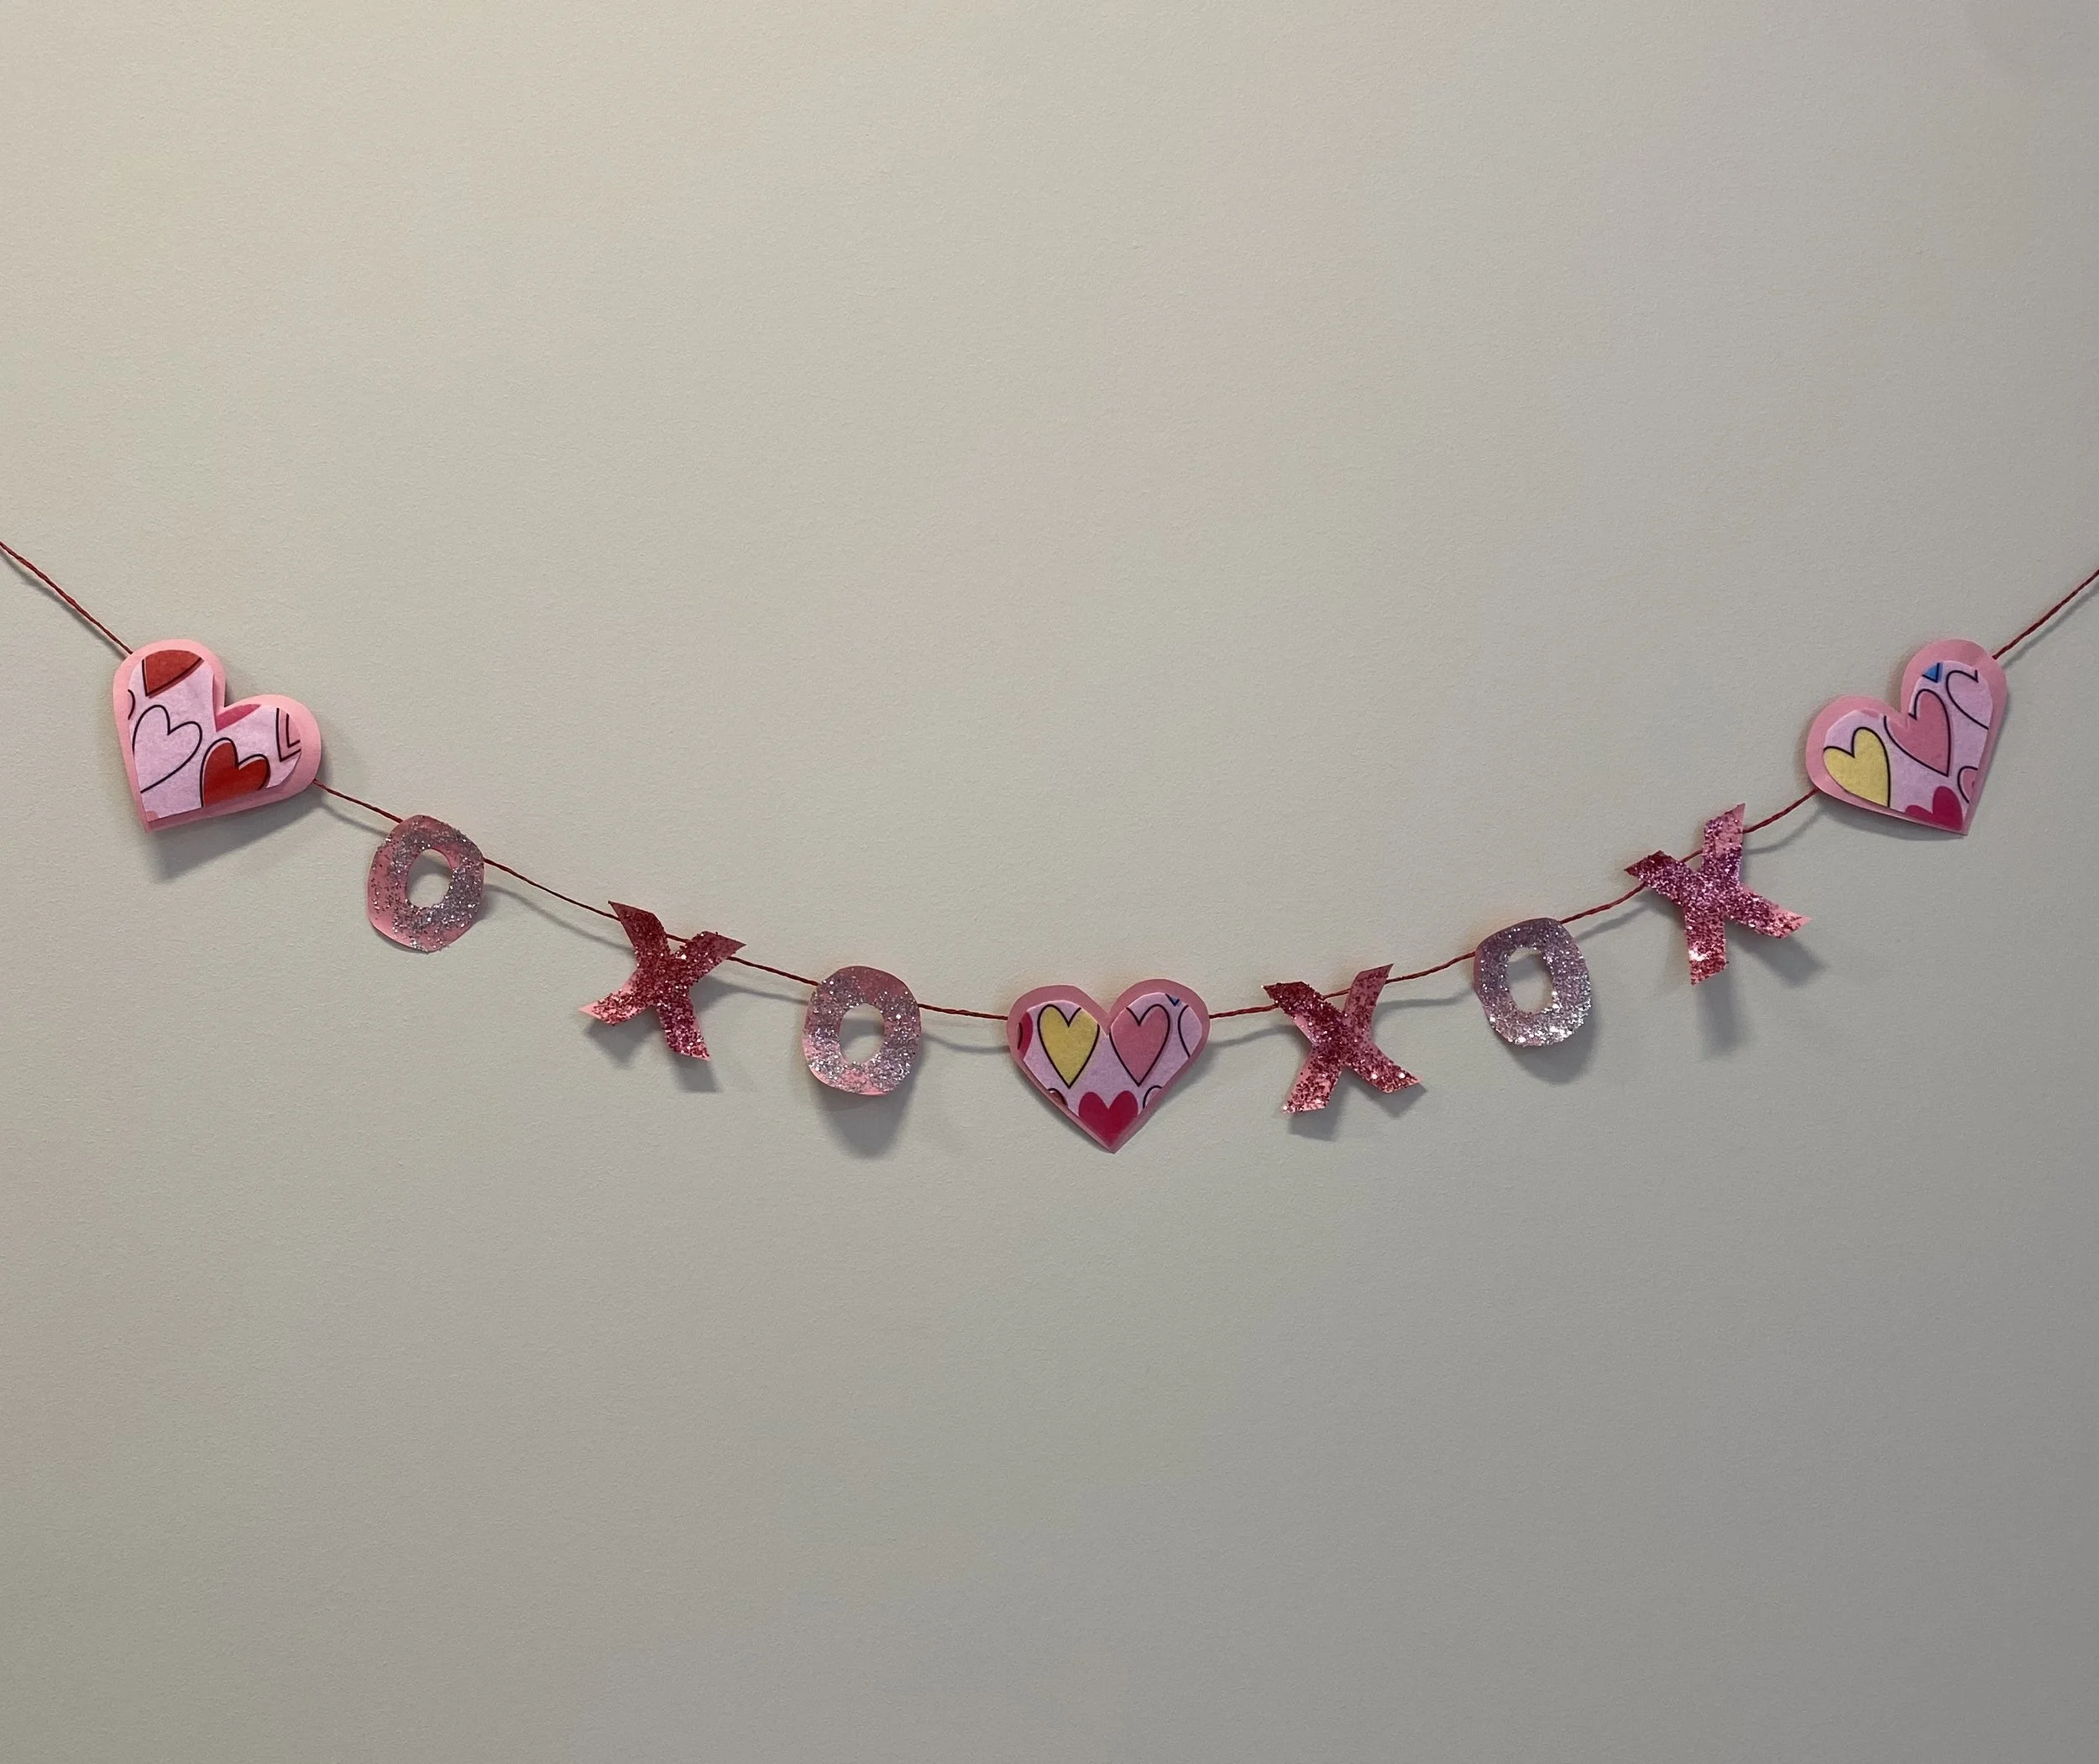
XOXO
DIY Valentines Day garland

There are so many things we can do for Valentines Day to get in the spirit! This year, I have included a directions for a super cute garland to decorate your space for the special day!
XO Garland
This is a simple project that requires very little prep.
You will need:
1.) paper
2.) scissors
3.) liquid glue/modge podge
4.) paint brush
5.) glitter
6.) string

Instructions:
1.) Draw a couple block letter X’s and O’s as a template for people to trace around. If you don’t feel confident in your own drawing skills, you can always print block letters offline and trace using a window or cut out as your templates!
2.) Trace your desired amount of X’s and O’s onto paper to ensure they are the same size.
3.) Cut your X’s and O’s out.
4.) Cover each X and O with modge podge or glue using a paint brush
5.) Sprinkle glitter over the glue
6.) Allow time to dry
7.) Arrange X’s and O’s in succession on how you’d like them to appear when hung
8.) Flip each over so the back is facing you.
9.) Measure how much string you will need for your garland.
10.) Cut string to desired length.
11.) Glue string to backs of each X and O making sure it is attached to the tops of each line of the X and top of O
12.) Allow to dry and hang in desired place!

If you’d like you can also use felt to make hearts or something similar to break up the garland. Have fun! And it is recommended to do the glitter over paper for easy clean up… or you will be sparkling the rest of the day. Which in our opinion isn’t a bad thing!

Visualize 2023
It all begins with an idea.

A vision board is a perfect way to set your goals, intentions, hopes, dreams, and resolutions for the new year…and you don’t need many materials! Let’s begin…

Materials:
See what you have in your space!
1) You will need a flat surface to attach your photographs to such as a piece of cardboard from an old package, poster board, or piece of paper…to make it a little extra eco-friendly reuse an old poster board! You will not be able to see what is under your photos anyway.
2) Images! Use old magazines, news papers, or even print images offline if need be.
3) Scissors
4) Glue or glue stick
5)Anything else you may want to incorporate into your collage… it is your vision after all!
Instructions:
1.) Flip through old magazines or set aside photographs of things you would enjoy or would like to use to represent what you hope to manifest in the new year…

For example: if you want to travel more: find a photo of your ideal vacation spot! If you want to be more healthy: find some beautifully vibrant fruit and veggies, or sneakers to represent exercise! If you overall want to manifest more joy or focus on your hobbies, friends, and relationships find photos of people doing just that! ie: dancing, smiling, or having fun.
I also like to use color to capture the vibe I am hoping for the year ahead. For example: if you’d like more calm in your year choose cool colored images like blues or purples… if you want more passion or to embody a more bold energy go with reds or blacks! Whatever you like is good. This is the fun part! It all about you!

2.) Cut out your images and arrange them on your flat surface. Feel free to play with how you’d like them to overlap or collage your images together.
3.) Find words in the magazines you’d like to use to set intentions for the year and place those on top of your images!

4.) Finally, glue everything together and your vision board is complete! Find a place to hang in your space to help keep your goals front of mind this year.
If you’d like to take this project a step further feel free to write your goals or intentions for the year on the back, or even paint or decorate your board with glitter, buttons, pipe cleaners…anything that may look cool you have around the house!
Cheers to 2023!
Art is for Everyone
A free resource for artists of all ages.